The Dyson air purifying fan is a HEPA air purifier that detects air pollution and automatically initiates the purification process. It also displays the level of air quality on its LCD, including allergens, ultrafine particles, and volatile organic compounds in the air. The Dyson air purifier also contains a sealed filter tower fan that captures about 99.97 percent of allergens.
This makes it the best air purifier to deal with allergens, smoke, mold spores, pets, pollen, and dust. The Dyson air purifier offers efficiency and is reliable around the house. If you want your air purifier to last even longer, you need to know how and when to change the fan filter. Keep reading to find out how long the Dyson air purifier filter lasts, what to consider when replacing it, and tips for cleaning the filter.
How Do You Know Your Dyson Filter Needs Changing?
Although the Dyson air purifier is known for its efficiency and durability, we recommend that you change the filter frequently for maximum performance. Here are some of the signs to look out for that signal it is time to change the Dyson filter.
The White Sheet Test
One of the best ways to know if you should be replacing your air purifier filter is by hanging a white sheet a few inches from one of the vents. Leave the sheet for about an hour then come back and check the color of the sheet. Is it still white and clean? If so, this indicates that the filters are working well and don’t need immediate change. However, if you discover that the sheet has turned gray or black, then you need to change the filters immediately.
Increased Breathing Problems and Allergies
Is there an increase in respiratory issues or allergies in the members of your family? This could indicate that the quality of air is poor due to clogged air filters, thereby reducing the flow of air too. If this is the case, you need to change the Dyson filter as soon as possible.
Read Also: 5 Best Air Purifiers Fan Combos
How Often to Change Dyson Air Filter?
The Dyson air filter should be changed at least once every year. However, this depends on the quality of air in the house. If you have a pet or live in an environment prone to dust, then you should change the air filter at least once every 6 months. When it comes to cleaning the Dyson air purifier fan, we recommend that you do so at least once every month. This will increase its efficiency and extend the time the filter lasts.
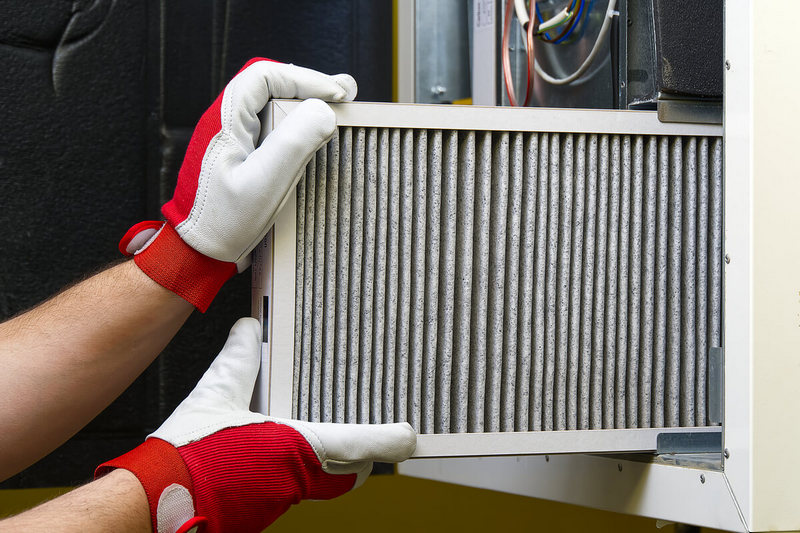
How to Replace Dyson Air Purifying Fan Filter?
When it’s time to replace the Dyson Pure Hot + Cool Air Purifier filter, a pattern will be shown on its LCD. Also, the Dyson Link app will send you a notification indicating that you need to replace the filter. This is because the Dyson purifier is programmed to send you a reminder to change the filters after 12 months. Below are the steps for replacing the Dyson filter.
Step 1: Unplug the Dyson Purifier
Ensure that the Dyson purifier is not connected to any electricity.
Step 2: Remove the Filter Unit
Press the buttons at each end of the purifier, and lift off the filter. Do this by gently placing your thumbs in the internal recesses, and pushing the filter unit down and away. Remove the filter and dispose of it.
Step 3: Replace the Filter
Take the new filter from its packaging and lower it into the housing of the purifier. Fit it until the filter clicks, then press and hold the ON/OFF button for about six seconds using the remote control. This will reset the filter indicator. The new filters are now ready for use.
How to Clean Filter on Your Dyson Air Purifier Fan?
Below are steps to follow when cleaning the Dyson air purifier fan filter.
Step 1: Disconnect the Purifier from the Electric Socket
The first thing you need to do is disconnect the purifier because you cannot clean it when it is connected to electricity. Alternatively, you can turn off the vacuum instead of disconnecting it.
Step 2: Gently Remove the Filters
The Dyson filters are located near the cyclone and are purple. Gently raise the cyclone to remove the filters.
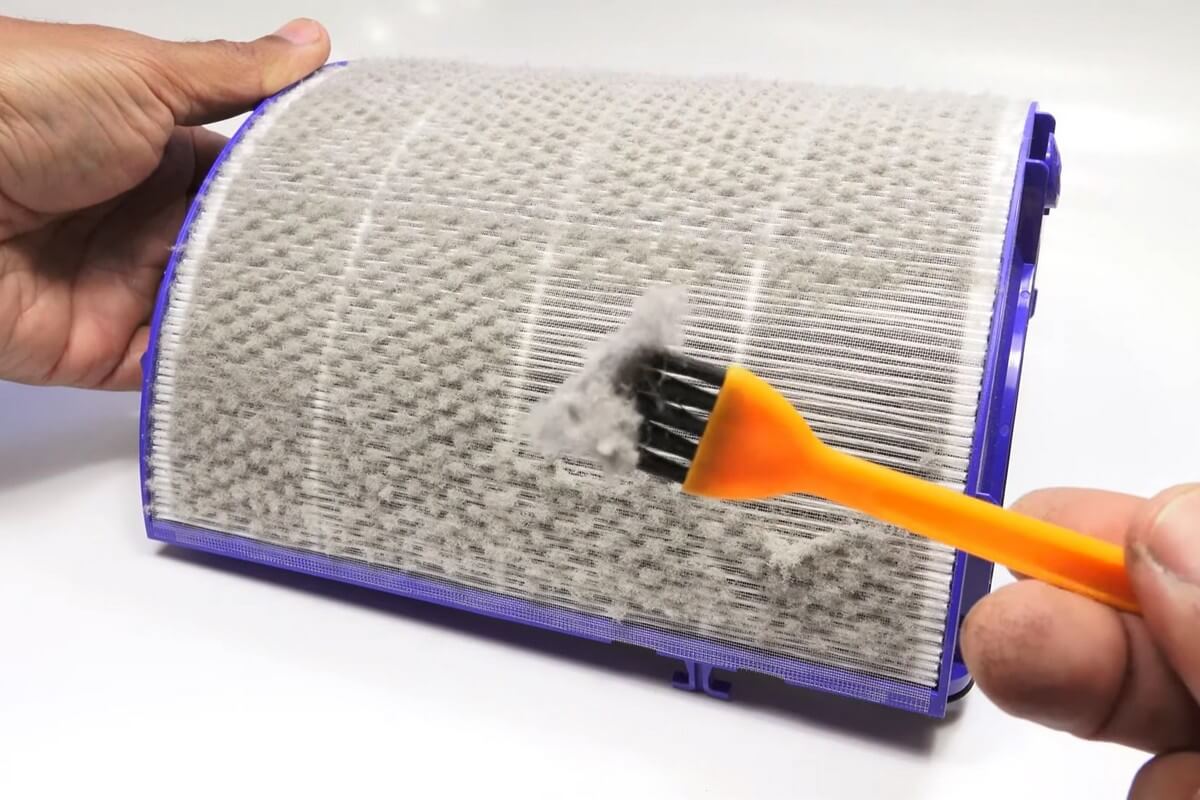
Step 3: Clean the Filters
After you safely remove the filters, gently open each of them. You will find a lot of debris and dust inside the filters. Check whether each of the filters is waterproof. If they are, take a brush and gently rinse the filters in cold water to remove the filth. In case, you discover the filters are not waterproof, use only the brush to clean the dirt.
Step 4: Leave the Filters to Dry
Place the filters in a warm area where they can dry away from the sun. Give them at least 24 hours to dry completely before using them again.