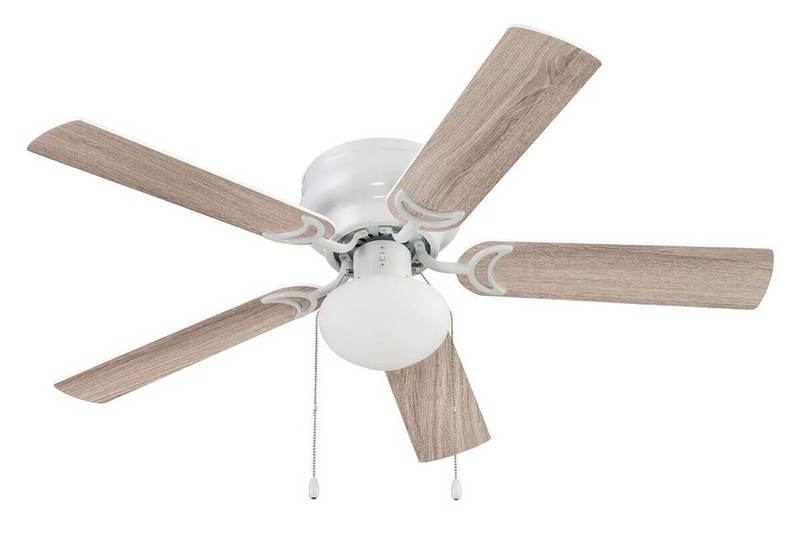
A ceiling fan with LED lights is a pretty efficient appliance for those who are always after more value in a product. Not only do its fan blades dry off all your sweat, but the bulbs also lighten your dark room. Honestly, that’s all one wants after a long, tiring day at work.
However, over time, you may face certain problems with your ceiling fan. Mostly, its lights stop working while the fan keeps working just fine, or vice versa. In these cases, you can quickly fix this problem by doing some tuning here and there.
This guide will discuss why your ceiling fan light is not working and some techniques to fix this issue on your own. So let’s jump right into it!
Reasons why a ceiling fan light doesn’t work
When you power on the fan, the electric current starts producing heat. This makes the wires either expand or contract.
Over time, this causes the wire connections to get loose in fundamental parts of the fan, like the light fixture or the wall switch. Consequently, the ceiling fan light doesn’t work for an extended period, even if you see the blades rotating.
Another factor that leads to this problem is the damaged ceiling fan light kit. Moreover, burned bulb sockets can also explain why LED bulbs stop working in a ceiling fan.
So if your fan develops any of these problems, don’t sweat. You have to look through some connections and fix the errors to make the lights work again.
Read also: How to Fix a Noisy Ceiling Fan
Ceiling fan light troubleshooting
You can try troubleshooting the ceiling fan light yourself and don’t always need an expert to resolve the issue.
If your ceiling fan light is not working but fan blades are, try all these methods one-by-one until you determine the root cause of the issue.
Replace the damaged bulb
One of the most common causes of ceiling fan bulbs not lighting is burned-out or damaged LED lights.
Some ceiling fans have one bulb, while others have two or more than that.
In the former case, the ceiling fan will not illuminate your room, and you need to change the burned bulb with a new one. However, in the latter case, your fan’s light will keep brightening your surroundings if only one bulb gets damaged.
More importantly, ensure that you are using a bulb with power as per your fan’s requirement. Lastly, screw the new bulb properly in the socket to make it work.
Read also: How Much Electricity Does a Ceiling Fan Use
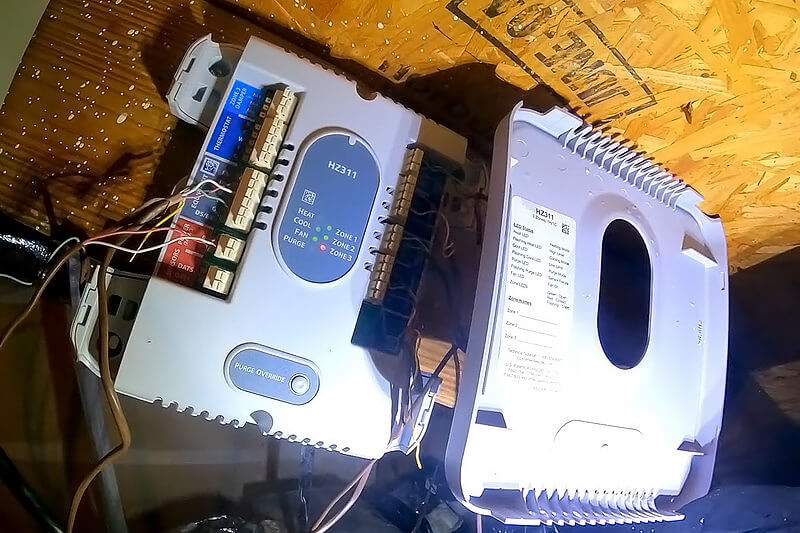
Watch out for loose wire connections
Too loose or too tight connections often restrict the performance of the light kit, resulting in the bulbs not operating properly.
So to identify whether it is the reason why your ceiling fan light doesn’t work, examine the wires keenly. Do it in the following steps:
- First, cut the current supply.
- Next, find the screws keeping the light kit intact. In almost all ceiling units, they are present underneath the fan blades. Once you detect these screws, unscrew them.
- After that, you’ll see two-colored wires spiraled around a red wire near the current supply.
- Now, watch out for any loose or tight wire connections thoroughly. Then, connect all wires correctly without any loopholes. If you find any loose connection, fix it.
- Lastly, restore the power supply.
Check any corroded ceiling fan light sockets
Analyzing the light bulb sockets gives a clear image of why a ceiling fan light is not working.
Mostly, the sockets get burned when there is an electrical short circuit in the wiring. So the best way to inspect it is:
- First, unscrew the bulb(s) from the socket.
- Now, test whether the light bulb socket has power or not with a tester.
- Next, clean the corroded part of the socket with a brush and a neat cloth.
- Then, place the bulb back into the socket.
- Lastly, power on the fan.
Alternatively, you can also substitute the damaged ceiling fan light socket with a new one.
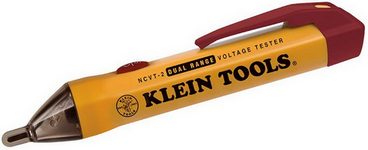
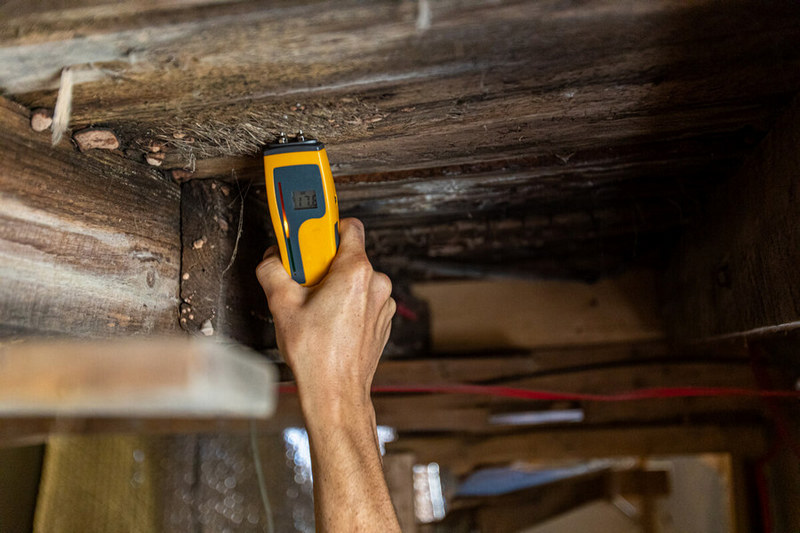
Check out this non-contact voltage tester on Amazon.
Inspect the fan’s remote
If you have a remote control for your fan, you must check if it’s provoking the problem.
First, make sure that it has new batteries. Then, you can reset it.
To do that, first, shut off the fan with the help of the remote. Next, keep pressing the remote’s power key for around 10-15 sec. After 20 sec, rerun the fan to see if there is any positive change or not.
Otherwise, simply get a new set and try powering on the bulbs.
Conclusion
As you can see, troubleshooting the ceiling fan light doesn’t require much effort. However, you must keep some essential things in mind before you start taking the nuts and bolts off your ceiling fan.
From the techniques mentioned above, the first step is to ensure that your fan’s wiring doesn’t have any loose or tight connections. If nothing works, take help from a professional whenever you need it!