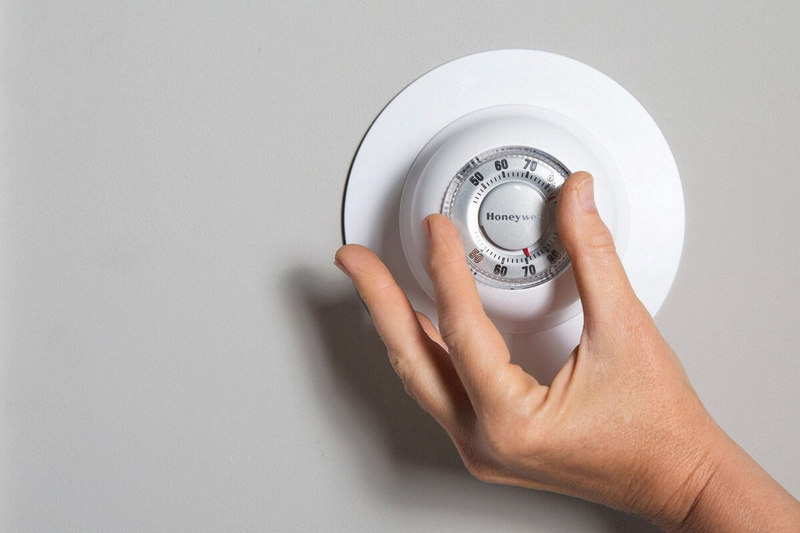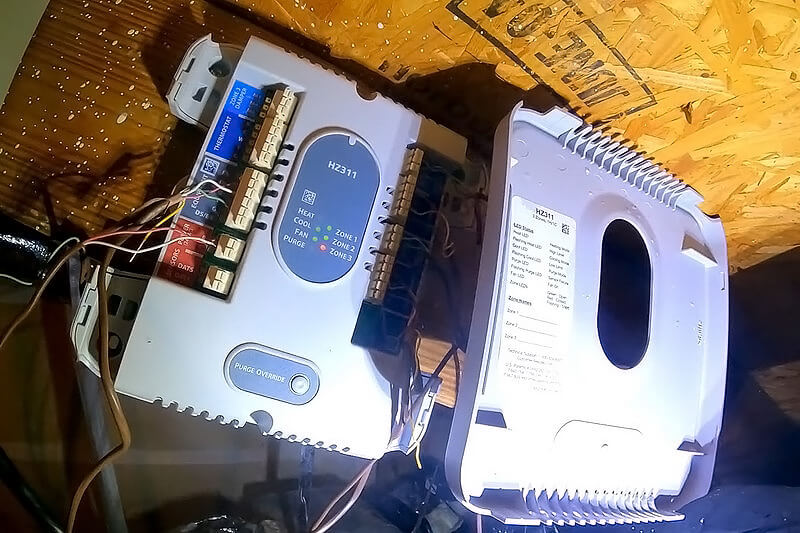
Automatic control of heating and cooling allows you to maintain a comfortable temperature throughout the house. The Honeywell HZ311 control panel is the main link and interface of the entire HVAC system.
The panel is connected to thermostats, dampers, sensors, and other equipment that provides air supply through ducts. Its appearance is extremely simple: a stylish plastic cover with seven indicators. Four indicators are responsible for the functions (heat, cool, fan, and purge), and three — for the zones (zone 1, 2, and 3) in which the system operates.
A green light indicates that the HVAC system is operating properly. However, if you see a solid or flashing red light on the Honeywell HZ311, there is a problem. In this article, we will try to understand the causes and solutions that can be taken before the technician arrives.
3 Reasons and Solutions for a Honeywell HZ311 Red Light
If you see a red light on the panel, do not rush to panic or call the support service. First of all, you need to remember that the HVAC system is a huge amount of electronics, air ducts, and dampers. Most failures are due to mechanical and electronic issues rather than malfunctions of complex equipment such as compressors.
When you’re experiencing a nasty red signal, it’s most likely one of three things: low refrigerant level, a damper does not open, or the blower motor is faulty. Before you start troubleshooting a Honeywell HZ311, it is important to identify the problem.
If you were present during the installation of the system and understand how it functions, it will be easier for you. Nevertheless, you can deal with it even without previous experience or knowledge. Often, it is enough to check the wires or dampers for the system to start working normally again. Below, we will analyze in detail the three main causes and find out how you can fix them.
Low refrigerant level
The low refrigerant level is the most common reason the Honeywell HZ311 is showing a red light. It results in the HVAC system not being able to cool the air effectively, so warm air circulates throughout your home. In this case, the compressor will continue to work non-stop, trying to cool the air to the desired temperature, which, in the end, can lead to overheating.
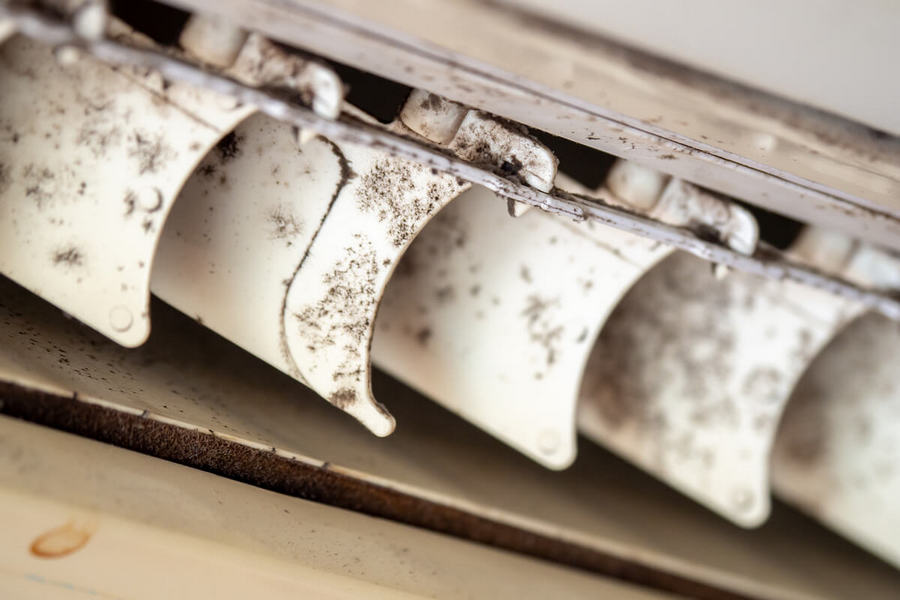
Usually, a visual inspection of the condenser and coils makes this problem easy to spot. You will see ice on these parts, and, if the leak is severe, you can hear the sound of refrigerant escaping. The cause of such a problem may be mechanical damage or wear of some components. It is often enough to simply order the needed detail from the official distributor and replace it. If you lack technical skills or the damage is significant, it is better to call a professional.
Stuck damper
Dampers are regulators that distribute heated or cooled air to different zones. If some dampers on your Honeywell HZ311 are not working, zone 2 and 3 red lights may appear. Such a breakdown will not only lead to an increase in the load on the system but also nullify the operation of the HVAC in the corresponding rooms.
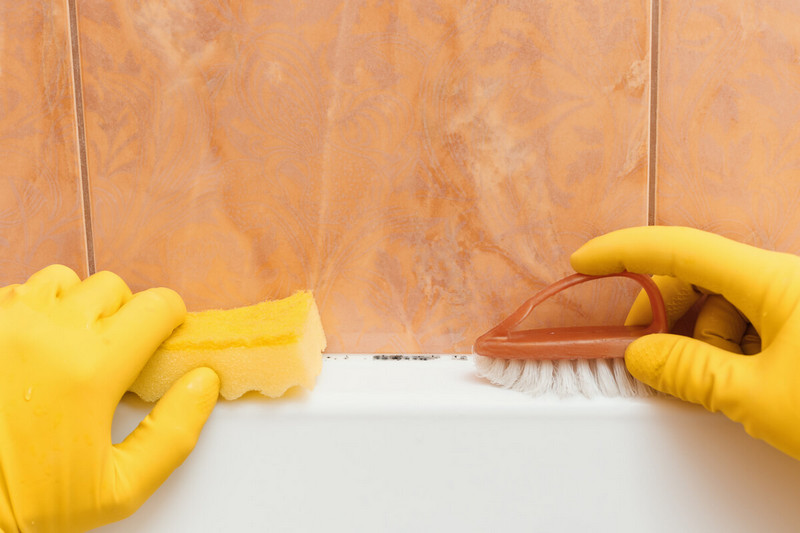
To solve this problem, first, perform a visual inspection of the damper. If it is bent or has rust on it, then, most likely, it does not open and does not let air into the right areas because of this. Dirt trapped in the ventilation duct can also lead to this problem. You can clean the damper and align it if necessary, then turn the system off and on, and the red light will most likely go away.
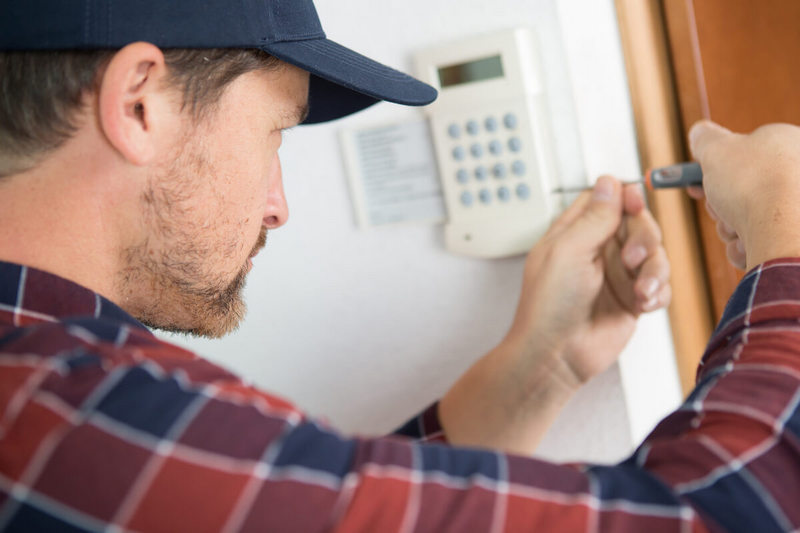
Another problem may be that the signal from the control panel does not reach the damper. In this case, you need to carefully check the wiring and use a tester to determine if there is voltage in the corresponding circuit. If the wires break, they will have to be replaced with new ones, and the damper will function normally.
A blower motor malfunction
The motor in your HVAC system blows heated or cooled air through the vents in your home. The air circulates until every room in your house reaches the desired temperature. However, when the engine breaks down, the entire system fails, and the air stops pumping.
Just like dampers, a failure with a motor can be caused by wear/break or wiring problems. You also need to inspect it and check the voltage. If you carry out regular maintenance of the HVAC system, most likely, there is minor wear, and the motor itself does not need to be changed.
Before the arrival of the technician, you can change the filters and clean the motor. Also, you can check the air ducts — due to their pollution, the motor can work with excessive load, increasing the level of wear. Make sure electrical signals are coming.
If after your actions, the equipment started working, great! Check for overheating or leaks for a few more days. Attention to the main components is the key to the long-term and high-quality operation of your climate system.