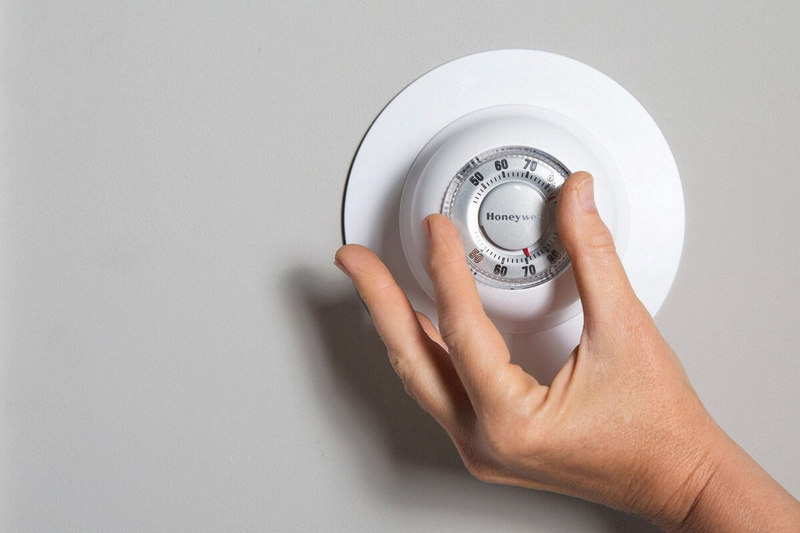
After you start living in a freshly built house or apartment, inconveniences and rough edges surface over time. Even with a meticulous design plan, you can’t predict everything, so this is quite natural. Don’t panic and remember that everything can be fixed, even poor thermostat location.
Though its place feels permanent, you can change it as well. This can make the temperature measurements it takes more accurate, making HVAC work more efficient. Find out all you need to know about moving a thermostat in this article.
Is Moving a Thermostat Difficult?
It depends on your DIY skills and also the distance you want to move the thermostat. If its new place is going to be on the wall it is on now, the job is relatively easy. But if you want to move a thermostat to another room, be prepared for some wire splicing and maybe even running it above the ceiling. Such work requires basic electrical know-how. If you don’t have such skills, better call an electrician.
Choosing a place for relocating your thermostat can also get a bit tricky. It must meet several conditions to get accurate readings of the temperature in the house. The general idea is that nothing should mingle with the air temperature in its location to be, like air conditioning or direct sun rays. This will affect how comfortable your home is and also your utility bills.
How to Move a Thermostat to Another Room
For those not afraid of working with their hands, we prepared a step-by-step guide for moving a thermostat by yourself. It will show you the necessary stages and give details about the work needed.
Step #1: Picking a New Place
As we said before, to take correct measurements, the device should not be close to sources of heat or cold. These include areas near windows, drafty places, over the radiators, and close to hot appliances. They all will distort its readings and, thus, lower its effectiveness.
Also, don’t put it in those places where maintaining comfort is not important, like a storage room. It might not be the smartest idea to put it in the chilliest place of your house as well. The central heating will work hard to get that room to the desired temperature even when all others have already become too warm.
Step #2: Turn off the Electricity
Safety is a top priority when dealing with electric devices. Do not start dismantling it and working with exposed wires until its power has been cut off. Otherwise, you can get electrocuted and risk getting serious injuries. The power may be enough even to kill you.
To do so, turn off the device, then find your breaker box, and flip a switch that provides power for a thermostat. If you can’t turn a thermostat on after doing that, it means that you’ve flipped the right one. If for any reason, you can’t disconnect it from the power, don’t attempt further steps and call a professional.
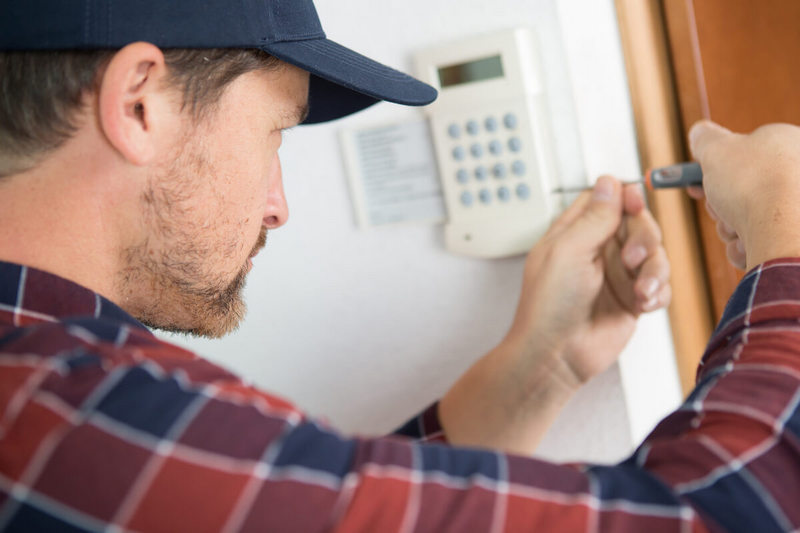
Step #3: Remove the Thermostat
Unscrew the thermostat and gently pull it out. Take a photo of its wiring and then proceed to disconnect the wires. A bracket that was holding the thermostat in place should also be removed; we’ll need it to install it later.
Step #4: Get the Wires Where They Are Needed
To get the wiring where you’ll need it, you have two options:
- Run it inside the house along the wall
- Run it over the ceiling or under the floor
The first option is not too hard. Use wire clips to lay the wire in a place where the ceiling touches the wall so you don’t interfere with them when you walk around. When it is over the thermostat’s new place, simply hang it down to it.
The second one is harder to execute, but you’ll get concealed wiring. For this one, you’ll need to run the wire inside the floor or ceiling. For this, you must get it there through holes that you’ll need to drill. Wherever your cable will eventually go, you’ll need to make the wire longer by splicing some extra to it.
Step #5: Installing and Repowering
After the wires are in place, it is time to install the thermostat. First, rewire it, then screw the bracket in place. Finally, put the device on the bracket and screw it as well.
After it is wired and in place, try powering it again. Flip the switch in a breaker box back on and see what happens. If everything works fine, then congratulations, you have done everything right. But if nothing happens, it means either the wiring is done wrong or the wire itself has flaws.
Step #6: Patch the Old Hole
Finish the job by patching an old wire opening. Use drywall filling to fill it up and paint over it. In case the hole came out too big, some patching will be needed.
Also check out this post: How to stop your Nest thermostat from changing the room temperature
Moving a Thermostat Only from One Side of a Wall to Another
But what if there is no need for relocating it into a whole other room, and you just want to change its place on the same wall? For example, if it is in the hallway, your goal can be to put it farther from the door. In this case, perform said steps exactly the same, except #4. There is no need for a new cable. Just pull the existing one using a special tool into the new opening since it isn’t far from the old thermostat location.
Different models can require to be installed either before or after attaching them. To make sure you are doing everything right, see the user manual for a precise installation procedure. If you can’t find it, look it up on the Internet. Locate a model name on the thermostat and use it along with a manufacturer brand to find a manual online.
How Much Does It Cost to Move a Thermostat?
You will need at least these tools and materials for this DIY project:
- Hole saw kit — $100
- Drill — $40
- Wire stripper — $10-20
- Screwdriver — $10
- Wire fishing tool — $13
- Extension wires — $0,20/Foot
- Cable clips — $0,30/Count
- Drywall filler — $10
The tools alone will cost $173, but the final cost will depend on how far you want to move it. If you decide to hire a worker, the price will range from $135 to $450 for moving, $75-150 to patch the hole, and about $6-10 for each foot of new wire.